

This is an example of a project that utilises a display bezel to give a very professional finish.
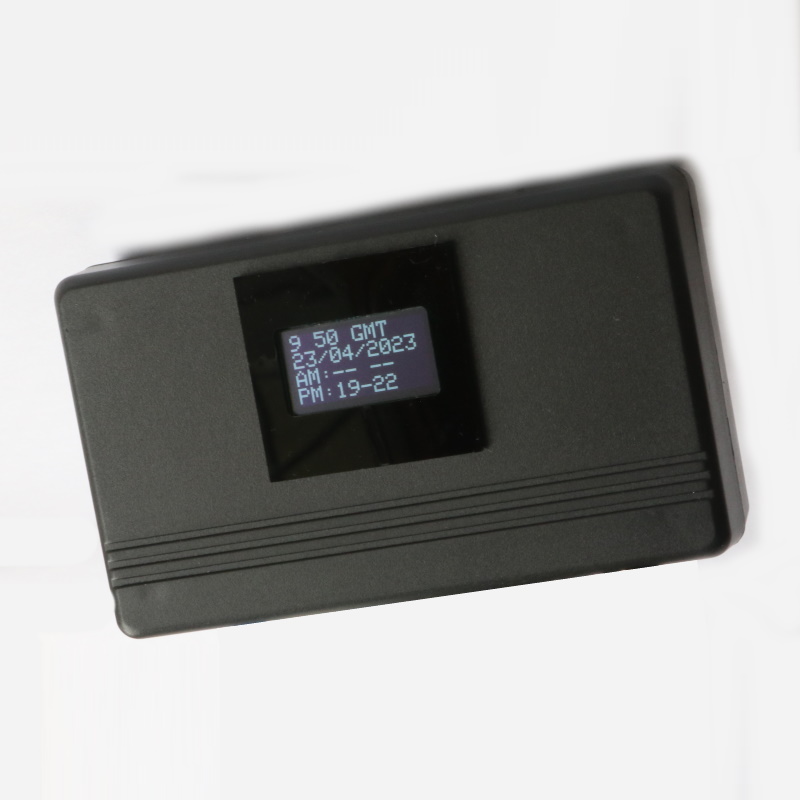
This project is a timer for some low voltage outside lighting. It was prototyped on an Arduino Nano, but the final project used a stand-alone ATMEGA328P-PU. Time-keeping is facilitated by a DS3231 RTC (Real Time Clock). The 128×64 0.96″ SSD1306 IIC OLED display shows the current time and the lighting on and off time (in hours).
Usually for a such a project, the display windows would be cut directly in the project box. But such holes tend to end up being a little untidy, as it’s quite difficult to get a perfect cut. The bezel overlaps the cut out by 2mm all round, thus hiding the untidy cut out. And sometimes, fixing screws are used to attach the display to the front panel, but that can look quite ugly.
This bezel hides the untidy cut-out and dispenses with ugly visible screws heads.
The OLED display is super-glued into position in the rear of the bezel and the bezel itself is super-glued into the ABS box.
Project photos
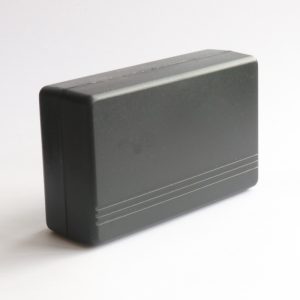
This the rather nice-looking project box we used for the project
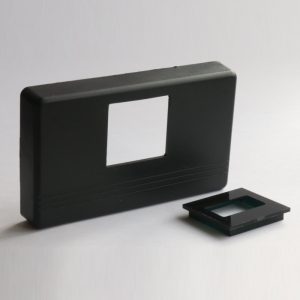
This is the project box with the hold cut ready for the bezel
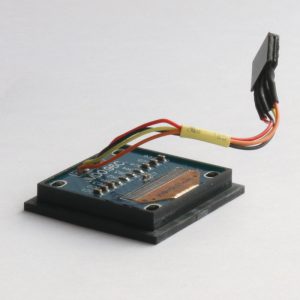
This shows the display fixed into the rear of the bezel
This is the bezel with the OLED display fixed into the project box
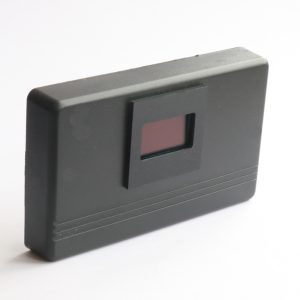
And this is the completed professional-looking project!
Summary
This project was quite straightforward. The bezel adds a very professional finish to the project. Without the bezel, we would have an untidy cut out with ugly mounting screws.
This project is clean and neat, and professional.
See our range of OLED bezels here.